DIY Lavender Candles: A Step-by-Step Soy Wax Tutorial
There is something quietly satisfying about pouring your own candle. You control the wax, the vessel, and most importantly, the fragrance. When the scent is true Lavandula angustifolia essential oil rather than a synthetic approximation, that satisfaction goes up considerably. This lavender candle recipe walks you through the whole process, from melting your first batch of soy wax to trimming the wick on a finished jar that is genuinely yours.
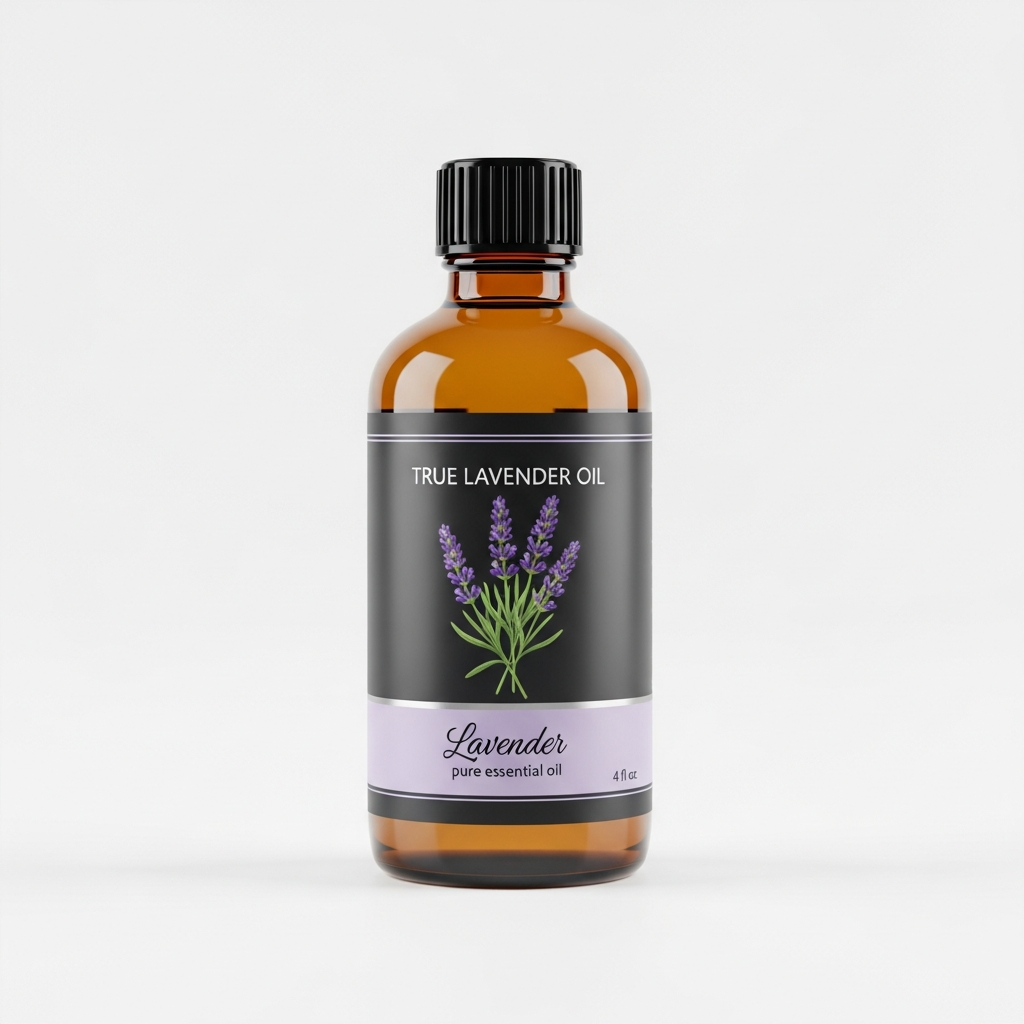
Lavender Essential Oil
Our own Lavender Essential Oil, in sizes from 0.5 oz to bulk.
From $10.99
Shop Now →Soy wax is a natural fit for this kind of project. It burns cooler and slower than paraffin, which means your lavender oil has time to diffuse gently into a room rather than flash off in a wave of heat. The result is a soft, layered scent that many people find ideal for evening wind-down rituals or quiet weekend mornings.
Before You Start: What You Should Know
Making candles with lavender oil is straightforward, but a few foundational points will save you from common frustrations. Soy wax has a relatively low flash point compared to paraffin, and essential oils have flash points of their own. True lavender (Lavandula angustifolia) essential oil has a flash point of roughly 167°F (75°C). You should always add your oil below that temperature to preserve the scent compounds and to keep the process safe.
Scent load also matters. Soy wax typically holds between 6% and 10% fragrance by weight. For a gentle, true-to-plant lavender scent, a 6% load works well. For a more pronounced throw, you can move toward 8%. Going beyond 10% does not improve the scent and can cause the oil to pool on the surface or create a fire hazard.
This is a beginner-to-intermediate project. The techniques are simple, but patience with temperatures makes all the difference.
- Difficulty: Beginner to Intermediate
- Active prep time: 45 minutes
- Set time: 48 hours minimum (72 hours recommended)
- Yield: Approximately three 8-ounce candles
Ingredients and Supplies
Wax and Scent
- 24 oz (680 g) soy wax flakes (container-grade, such as Golden Brands 464 or similar)
- 1.4 oz (40 g) true Lavandula angustifolia essential oil (approximately 6% scent load)
- Optional: 0.5 oz (14 g) cedarwood or frankincense essential oil if you want a grounding base note (see Variations below)
Vessels and Wicking
- Three 8-ounce glass jars (mason jars, straight-sided, or apothecary style)
- Three pre-tabbed cotton wicks, sized for an 8-ounce container (CD-12 or ECO-10 are common starting points, consult your wax supplier's wick guide for your specific jar diameter)
- Three wick centering bars or pencils to hold wicks in place
- Wick stickers or a small dab of hot glue to anchor the wick tabs to the jar bottoms
Equipment
- Double boiler setup: a heat-safe pouring pitcher inside a pot of simmering water
- Candy or candle thermometer (digital is easiest)
- Kitchen scale that reads in grams or ounces
- Silicone spatula or wooden stirring stick
- Heat-safe surface or silicone mat for pouring
- Isopropyl alcohol and paper towels for cleanup
Step-by-Step Instructions
Step 1: Prepare Your Jars
Warm your glass jars slightly. A brief pass with a heat gun or 10 seconds in a warm (not hot) oven at 150°F helps the wax adhere to the glass as it cools. Attach a wick sticker or a small dot of hot glue to the metal wick tab, then press each wick firmly to the center bottom of each jar. Rest a wick centering bar (or a pencil laid across the jar mouth) over the top and loop the wick through to hold it straight. Set jars aside on your heat-safe surface.
Step 2: Melt the Wax
Fill the bottom pot of your double boiler with 2 to 3 inches of water. Bring it to a gentle simmer. Place your pouring pitcher in the water and add the 24 oz of soy wax flakes. Stir occasionally with your spatula. Soy wax melts at around 120°F to 125°F (49°C to 52°C) and should be fully liquid by the time the temperature reaches 170°F to 185°F (77°C to 85°C).
Do not walk away. Watch your thermometer. The goal is a fully clear melt without scorching.
Step 3: Cool to Fragrance Temperature
Remove the pouring pitcher from the heat and set it on your silicone mat. Let the wax cool, stirring gently every few minutes. You want to add your lavender essential oil when the wax temperature sits between 140°F and 150°F (60°C to 65°C). This range is below the flash point of true lavender oil, which protects the delicate linalool and linalyl acetate compounds that give the oil its characteristic scent profile.
Adding oil too hot risks scorching off the volatile top notes. Adding it too cool (below 120°F) can cause the wax to seize before you pour.
Step 4: Add Your Lavender Oil
Measure your essential oil by weight on the kitchen scale: 1.4 oz (40 g) of true Lavandula angustifolia oil. Pour it into the wax at the target temperature. Stir slowly and steadily for two full minutes. Slow, consistent stirring distributes the oil evenly and reduces the chance of fragrance pockets forming in the finished candle.
The wax may look slightly cloudy at this stage. That is normal.
Step 5: Pour
With the wax between 130°F and 140°F (54°C to 60°C), pour steadily into your prepared jars. Leave about half an inch of headspace at the top. Pour slowly to avoid trapping air bubbles. If small bubbles appear on the surface, a brief pass with a heat gun at low setting smooths them out.
Check that your wicks are still centered. Adjust the centering bars if needed.
Step 6: Set
Let your candles cool undisturbed at room temperature for at least 48 hours. Resist the urge to move them or place them in the refrigerator to speed things up. Rapid cooling causes soy wax to crack or develop a rough surface (called "frosting"). After 48 hours, trim the wick to 1/4 inch. For the fullest scent throw, allow for a full 72 hours before the first burn.
Safety Warnings and Contraindications
Please read this section fully before you begin. Essential oil candles are wonderful, but the safety considerations are real.
Skin Contact
The lavender oil in this recipe is bound in wax and is not intended for skin contact. If you spill melted wax containing essential oil on your skin, rinse with cool water and a carrier oil (like coconut oil) before washing with soap. Do not use for any skin application without proper dilution. For topical use, true lavender essential oil should be diluted to 1% to 2% in a carrier oil (1 to 2 drops per teaspoon of carrier). Always perform a patch test on a small area of inner forearm 24 hours before broader skin use.
Who Should Use Caution
- Pregnant individuals: Consult a qualified healthcare provider before using any essential oil candles regularly.
- Infants and young children: Keep lit candles well out of reach. Diffusing essential oils around very young children warrants guidance from a pediatrician.
- Pets: Cats and some dogs may be sensitive to essential oil vapor. Burn candles in well-ventilated spaces and observe your pets for any signs of discomfort.
- People with respiratory sensitivities: Even natural lavender scent may not be suitable for everyone. Burn in a ventilated room and extinguish if any discomfort arises.
Fire Safety
- Never leave a burning candle unattended.
- Keep away from drafts, curtains, and flammable materials.
- Burn on a heat-safe surface.
- Do not burn for more than 4 hours at a time.
- Discard when less than 1/2 inch of wax remains.
Important: Essential oil candles are not a substitute for professional medical care. The content of this article is educational. Always consult a qualified healthcare provider for any health concerns.
Storage Instructions and Shelf Life
Store finished candles in a cool, dark location away from direct sunlight. UV light degrades both soy wax and the delicate aromatic compounds in true lavender oil. A cabinet or drawer works well.
Kept in good conditions, a properly made soy lavender candle holds its scent for 12 to 18 months. The wax itself does not expire in the traditional sense, but the essential oil gradually loses its aromatic complexity over time. Candles made with high-quality, correctly stored Lavandula angustifolia oil will retain a truer scent for longer compared to those made with synthetic lavender fragrance oil.
If you are making a batch for gifting, note the pour date on the bottom of each jar with a small sticker. Recipients will appreciate knowing when the candle was made.
Variations and Substitutions
Lavender and Cedarwood
For a warmer, woodier character, blend 1 oz (28 g) lavender with 0.4 oz (12 g) of cedarwood atlas or Virginia cedarwood essential oil. Keep the total scent load within your 6% to 8% range. This blend tends to suit autumn and winter settings particularly well.
Lavender and Eucalyptus
A classic pairing for morning rituals. Use 1 oz (28 g) lavender and 0.4 oz (12 g) eucalyptus globulus. Note that eucalyptus has its own contraindications for young children and some adults, so review those before choosing this blend.
Botanical Garnish
Dried Lavandula angustifolia flower buds pressed lightly onto the surface of the candle just as the top begins to set make for a beautiful visual. Use only a small pinch. Significant amounts of dried botanicals on or in a candle surface create a fire risk. Decorative use only, near the surface, is the safer approach.
Wax Substitutions
Coconut wax (or a soy-coconut blend) is a popular alternative. It tends to have an excellent scent throw and a creamy, opaque finish. Adjust your pour temperature according to the supplier's guidance, as coconut wax behaves differently from straight soy. Beeswax is another natural option, though its own honey-like scent will interact with the lavender, creating a distinctly different fragrance profile.
Vessel Substitutions
Tins, ceramic cups, and concrete vessels all work with soy wax. The key variable is jar diameter, which determines your wick size. Always cross-reference your vessel width with your wax supplier's wick recommendations. An undersized wick creates a tunneling burn. An oversized wick creates excessive soot and a too-large flame.
Getting the Most from Your Lavender Oil
The scent quality of your finished candle is only as good as the oil you pour into it. For a diy lavender soy candles project to genuinely shine, the oil needs to be true Lavandula angustifolia, not lavandin (Lavandula x intermedia), which is sharper and more camphoraceous, and not a synthetic lavender fragrance oil, which often smells flat or chemical at candle temperatures.
Look for oil that lists the full botanical name on the label, includes the country of origin (France, Bulgaria, and England are classic sources), and provides a GC/MS report on request. Those three details are reliable indicators that a supplier takes sourcing seriously.
If you enjoy working with lavender beyond candles, our complete guide to lavender DIY and blending covers a wide range of projects and formulation principles in one place. For another popular beginner project, the homemade lavender soap tutorial walks through both cold process and melt-and-pour methods with the same focus on true oil quality.
Lavender oil also steps outside the craft room. If you are curious about how it performs in a household context, the lavender in natural cleaning sprays and scrubs guide is worth a read. And for warm-weather projects, the summer lavender ideas collection covers everything from picnic linen sprays to car sachets.
Troubleshooting Common Issues
Frosting (White, Powdery Surface)
Frosting is a natural characteristic of soy wax and does not affect burn quality or scent. It appears most often when candles cool too quickly or when poured at too low a temperature. Try pouring slightly warmer (closer to 140°F) and cooling in a draft-free spot.
Tunneling (Wax Only Burns in the Center)
Usually a wick-size issue. Try the next size up from your current wick. Also make sure your first burn lasts long enough for the entire top layer to liquefy (roughly one hour per inch of jar diameter). That first burn sets the "memory" of the candle.
Weak Scent Throw
Check your pour temperature and oil quality first. If oil was added above 150°F, the most volatile scent molecules may have evaporated before the wax set. Also confirm you are using a container-grade soy wax rather than pillar-grade, which has a different oil-binding structure. Increasing your scent load incrementally (from 6% toward 8%) can also help, within safe limits.
Air Pockets or Sinkholes
A second "top-up" pour fixes sinkholes. After your candle has set for about 4 hours, melt a small amount of reserved wax to the same pour temperature and fill any dips or holes around the wick.
A Note on Making Candles with Lavender Oil at Scale
Once you have your process dialed in, scaling up is mostly a math exercise. Keep your scent load percentages consistent and recalculate by total wax weight. The main variable that changes at larger volumes is cooling time. A bigger batch in a warm kitchen will take longer to fully set, and patience still pays off. Rushing the set period is the single most common reason a batch of otherwise well-made candles underperforms on scent throw.
Pour your first batch, take notes on the variables (room temperature, pour temperature, set time, wick brand), and adjust from there. Candle making rewards methodical observation more than most crafts. Your second batch will almost always be better than your first, and your fifth batch better still.