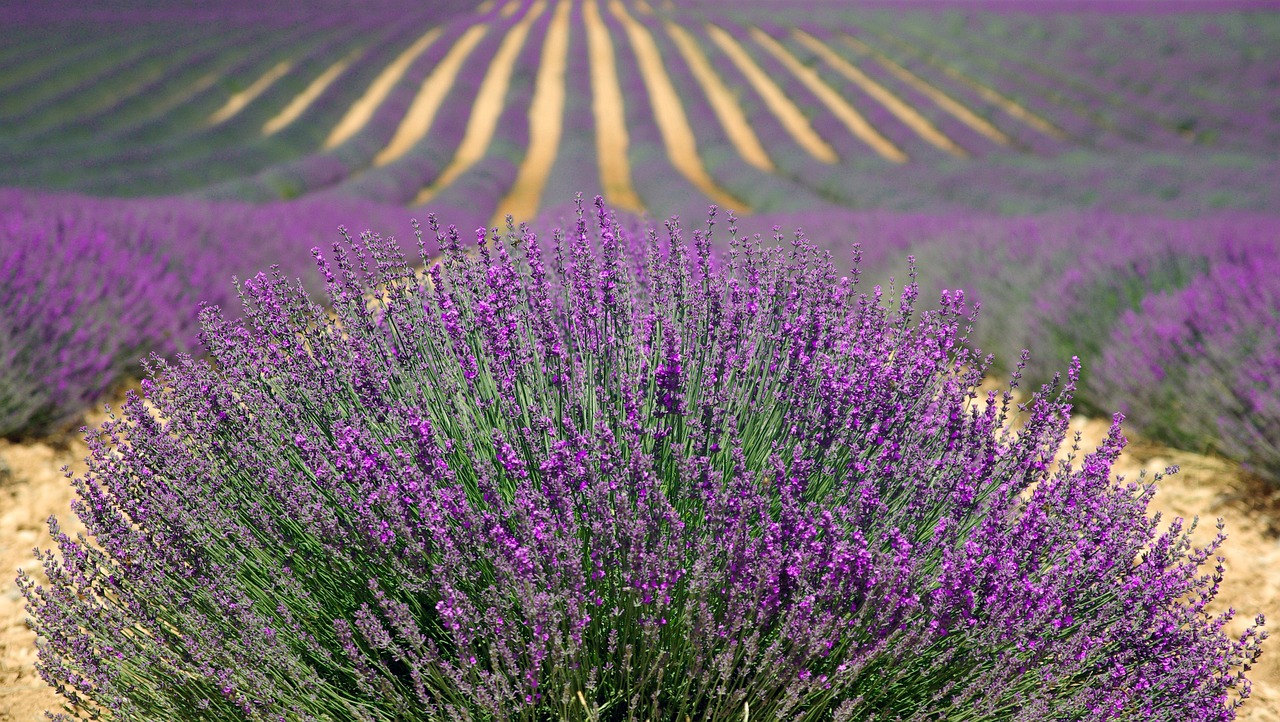
Homemade Lavender Soap: Cold-Process and Melt-and-Pour Methods
There is something deeply satisfying about a bar of soap you made yourself, scented with real Lavandula angustifolia essential oil. Not a synthetic lavender fragrance, not a lab-created approximation, but the genuine floral and slightly herbaceous scent of true lavender. This guide walks you through two distinct approaches to a lavender soap recipe: the traditional cold-process method for experienced crafters who want full control over ingredients, and the accessible melt-and-pour method for anyone who wants a beautiful result on their first try.
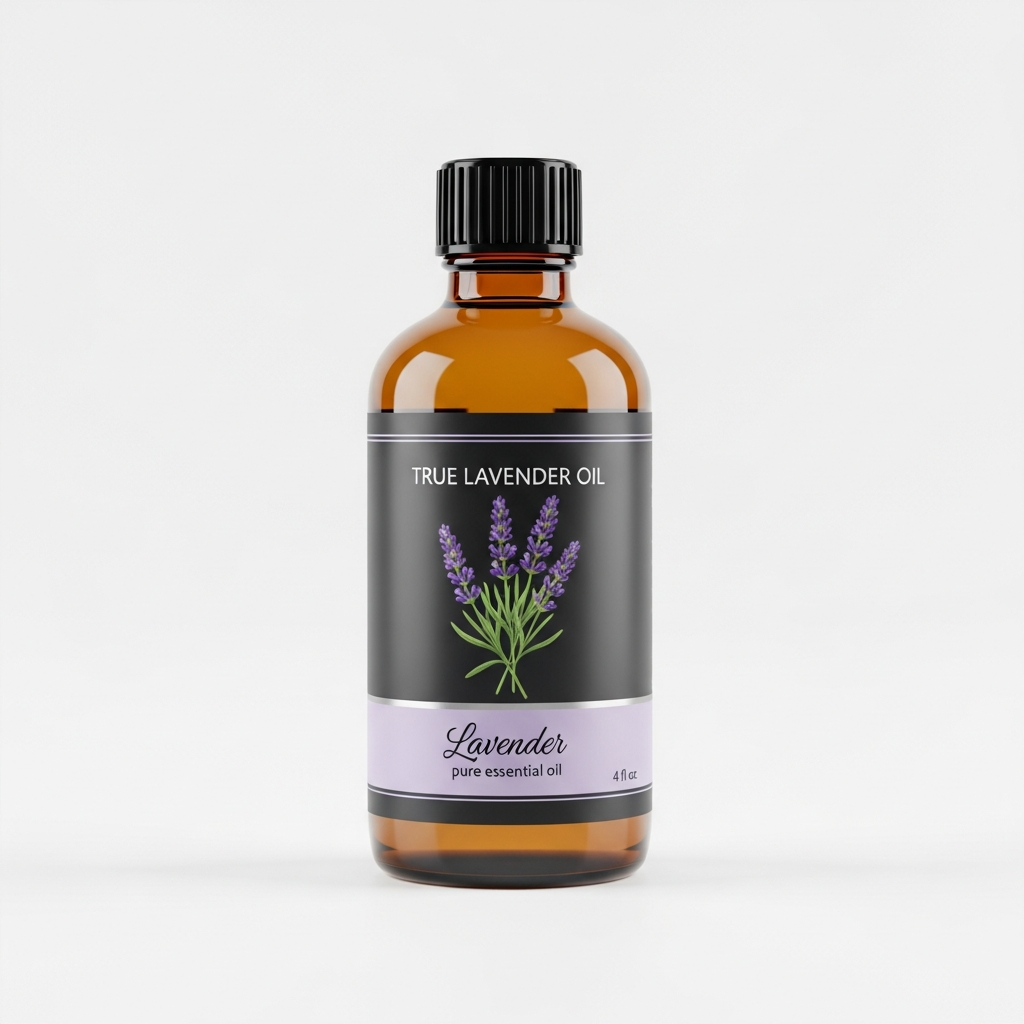
Lavender Essential Oil
Our own Lavender Essential Oil, in sizes from 0.5 oz to bulk.
From $10.99
Shop Now →Both methods produce real, usable bars of soap. Both can showcase high-quality lavender essential oil beautifully. The differences come down to time, equipment, and how much creative control you want over the final product.
Before You Begin: Choosing Your Lavender Essential Oil
The quality of your lavender oil shapes everything about the finished soap. Lavender essential oil is one of the most adulterated oils on the market, frequently stretched with synthetic linalool or blended with lavandin (Lavandula x intermedia), which has a sharper, more camphoraceous scent profile. For soap making, you want a true Lavandula angustifolia oil, ideally from a reputable source that provides GC/MS (gas chromatography/mass spectrometry) testing data.
The scent of genuine angustifolia is softer, sweeter, and more complex than lavandin. It holds reasonably well through the saponification process in cold-process soap, though some top notes will fade. In melt-and-pour soap, which involves lower temperatures, the scent tends to stay brighter.
Curious about how lavender oil fits into a broader range of DIY projects? Our complete lavender DIY and blending guide covers everything from blending ratios to pairing lavender with other botanical oils.
Difficulty Levels and Time at a Glance
| Method | Difficulty | Active Prep Time | Total Time to Use |
|---|---|---|---|
| Cold-Process | Intermediate to Advanced | 60 to 90 minutes | 4 to 6 weeks (cure time) |
| Melt-and-Pour | Beginner-Friendly | 20 to 30 minutes | 24 to 48 hours |
Safety Warnings: Read This Section First
Important: Soap making involves lye (sodium hydroxide), a caustic alkali that causes severe burns on contact with skin, eyes, and mucous membranes. The cold-process section requires lye handling. The melt-and-pour section does not. Read all safety information before purchasing any materials.
General Soap-Making Safety
- Work in a well-ventilated space. Lye mixed with water releases fumes during the first few minutes.
- Wear chemical-resistant gloves, long sleeves, and eye protection at all times when working with lye solution.
- Keep children and pets out of the workspace.
- Never use aluminum bowls, spoons, or molds with lye. Use stainless steel, high-density polyethylene (HDPE), or silicone.
- If lye contacts skin, flush immediately with large amounts of cool water for at least 20 minutes.
- Have a bottle of white vinegar nearby. Some crafters use it on surfaces, though it should not be applied to skin burns (water is the correct first response).
Essential Oil Safety in Soap
- Dilution ratio: The industry standard for lavender essential oil in leave-on products is 0.5% to 2%. In rinse-off products like soap, usage rates are slightly more flexible, but a reasonable guideline is 1% to 3% of total oil weight. For a 500g oil batch, that is 5g to 15g of essential oil. Stay within this range.
- Patch test finished bars: Once your soap has fully cured (or set, for melt-and-pour), apply a small lather to the inside of your wrist. Wait 24 hours before using on larger areas. Discontinue use if any redness or irritation appears.
- Skin sensitivities: Some individuals have sensitivities to linalool and linalyl acetate, the primary compounds in lavender oil. If you have known sensitivities to floral essential oils, consult a qualified healthcare provider before using lavender topically.
- Pregnancy and young children: Consult a qualified healthcare provider before using essential oil-scented products during pregnancy or on young children.
- Do not use these soaps as a substitute for any medically supervised skincare routine. If you have a diagnosed skin condition, speak with your dermatologist before switching to handmade soaps.
Method One: Cold-Process Lavender Soap
Cold-process soap making gives you complete control over every ingredient that goes into the bar. You are creating soap from scratch by combining oils and lye solution, which triggers saponification: a chemical process that converts those raw materials into soap and glycerin. The resulting bars are richer in naturally occurring glycerin than most commercial soaps and can be customized with different oil combinations to adjust lather, hardness, and skin feel.
The trade-off is cure time. Cold-process soap needs four to six weeks to fully saponify and harden before use.
Equipment
- Digital kitchen scale (accurate to 1g)
- Two large stainless steel or HDPE bowls or pitchers
- Stick blender (immersion blender)
- Silicone spatulas (two or more)
- Silicone loaf mold or individual cavity molds
- Thermometer (infrared or probe-style)
- Chemical-resistant gloves and safety goggles
- Old towels for insulating the mold
Ingredients (Makes approximately 8 to 10 bars)
All weights are in grams. Soap making requires precision. Volume measurements are not reliable here.
| Ingredient | Weight | Notes |
|---|---|---|
| Olive oil (pure or pomace) | 300g | Conditioning, slow to trace |
| Coconut oil (76-degree) | 150g | Lather and hardness |
| Sustainable palm oil (or lard) | 100g | Hardness and stability |
| Castor oil | 50g | Lather boost, skin feel |
| Sodium hydroxide (lye, 99%+ pure) | 82g | Calculated for this specific oil blend at 5% superfat |
| Distilled water | 197g | Do not use tap water |
| True lavender essential oil (L. angustifolia) | 12g | Approximately 2% of total oil weight |
| Dried lavender buds (optional) | 1 to 2 tablespoons | Decorative topping only |
| Purple or violet cosmetic-grade colorant (optional) | A small amount, per manufacturer guidance | Mica powder works well |
Lye safety note: The sodium hydroxide amount above is calculated specifically for this oil combination. If you change any oil weights or swap oils, you must recalculate your lye amount using a reliable soap calculator (SoapCalc and Brambleberry's Lye Calculator are widely used). Using incorrect lye amounts produces soap that is either caustic or greasy.
Step-by-Step Cold-Process Instructions
- Prepare your workspace. Put on gloves and goggles. Set out all equipment. Have your mold ready and lined if it is not silicone.
- Make the lye solution. Weigh your distilled water into a heat-safe HDPE or stainless steel container. Weigh the lye separately. Slowly pour the lye into the water (never the reverse). Stir gently. The solution will heat rapidly to around 80 to 90 degrees Celsius and release fumes briefly. Set it aside in a safe location to cool.
- Melt and weigh your oils. Melt coconut oil and palm oil gently if they are solid. Combine all oils in your large mixing bowl. Check the temperature: you want oils and lye solution both between 40 and 50 degrees Celsius before combining. This window is flexible, but having them close in temperature helps.
- Combine lye solution and oils. Slowly pour the cooled lye solution into the oils, stirring as you pour.
- Bring to trace. Use your stick blender to blend the mixture, alternating between short bursts of blending and hand-stirring. Within two to five minutes, the batter will thicken to a pudding-like consistency. This is called trace. For lavender soap, a light to medium trace is ideal.
- Add essential oil and colorant. Pour in the lavender essential oil and any colorant. Blend or stir to incorporate fully.
- Pour into mold. Work quickly once essential oils are added, as some oils can accelerate trace. Pour the batter into your mold, smooth the top, and tap the mold firmly on the counter to release air bubbles.
- Add dried lavender topping (optional). Sprinkle dried lavender buds across the top before the surface sets.
- Insulate. Cover the mold with its lid or a piece of cardboard, then wrap in old towels. This helps the soap go through gel phase, which produces a more translucent, vibrant final bar.
- Unmold and cut. After 24 to 48 hours, check the soap. It should be firm enough to unmold. If using a loaf mold, cut into bars at this stage.
- Cure. Place bars on a rack in a cool, dry, ventilated space for four to six weeks. Turn them occasionally. Curing allows excess water to evaporate and saponification to complete.
Method Two: Melt-and-Pour Lavender Soap
Melt-and-pour soap uses a pre-made soap base that has already gone through saponification. You melt it, add your lavender essential oil and any botanicals, pour it into molds, and wait for it to set. No lye handling. No lengthy cure time. The bars are ready to use within 24 to 48 hours.
This is the method most people reach for when they want a beautiful melt-and-pour lavender soap without a steep learning curve. It is also excellent for gifting, since you can use decorative molds and add visual elements easily.
The limitation is that you are working with a base rather than formulating from scratch, so the oil profile is fixed. Choose your base thoughtfully: look for options labeled shea butter base, goat milk base, or clear glycerin base depending on the finish you prefer.
Equipment
- Digital kitchen scale
- Microwave-safe glass measuring cup or double boiler setup
- Silicone spatula
- Silicone soap molds (individual cavity molds work beautifully here)
- Rubbing alcohol in a spray bottle (to pop surface bubbles)
- Thermometer (optional but helpful)
Ingredients (Makes approximately 6 bars)
| Ingredient | Amount | Notes |
|---|---|---|
| Melt-and-pour soap base (shea butter or clear glycerin) | 500g | Cut into 2 to 3 cm cubes for even melting |
| True lavender essential oil (L. angustifolia) | 10g (approximately 2 teaspoons) | 2% of base weight |
| Cosmetic-grade mica colorant, violet or soft purple (optional) | A small pinch, per manufacturer's guidance | Mix with a drop of oil first to prevent clumping |
| Dried lavender buds (optional) | 1 tablespoon | For embedding in the bar or topping |
Step-by-Step Melt-and-Pour Instructions
- Prepare your molds. Make sure they are clean and dry. Set them on a flat surface where they will not be disturbed while the soap sets.
- Melt the base. Place cubed soap base in your microwave-safe container. Microwave in 30-second intervals, stirring between each, until fully melted. Alternatively, melt in a double boiler over low heat. Avoid boiling: keep the temperature below 65 degrees Celsius to preserve the base and reduce scorching.
- Cool slightly. Let the melted base cool for two to three minutes until it reaches around 55 to 60 degrees Celsius. Adding essential oil to very hot soap base can cause some of the lighter scent compounds to volatilize off quickly.
- Add colorant. Stir in your colorant now, mixing thoroughly.
- Add lavender essential oil. Pour in the lavender oil and stir gently but thoroughly. Avoid whipping air into the batter.
- Add dried lavender buds (optional). If you want botanicals suspended in the bar rather than just on top, stir them in now.
- Pour into molds. Pour steadily and slowly to minimize bubbles.
- Spritz with alcohol. Immediately after pouring, lightly spritz the surface with rubbing alcohol. This pops any surface bubbles and gives you a smooth, clear top.
- Allow to set. Leave undisturbed for at least two hours at room temperature, or place in the refrigerator for 30 to 45 minutes to speed setting. Do not freeze.
- Unmold. Once fully firm and cool, flex the mold gently to release each bar. If bars resist, refrigerate for another 15 minutes.
- Patch test before use. Even though melt-and-pour does not require a cure time, allow bars to rest at room temperature for 24 hours. Then do a patch test on your inner wrist and wait 24 hours before wider use.
Storage Instructions and Shelf Life
Cold-Process Soap
- After curing, store bars in a cool, dry location away from direct sunlight.
- Wrap individual bars in wax paper or kraft paper to protect them. Avoid airtight plastic wrap, which traps moisture.
- Properly stored bars have a shelf life of 12 to 18 months, sometimes longer. The limiting factor is usually the oil blend: higher olive oil bars last well, while bars with high amounts of soft oils (like sunflower or hemp) may develop rancidity sooner.
- In the shower, keep bars on a well-draining soap dish. Sitting in pooled water dramatically shortens bar life.
Melt-and-Pour Soap
- Melt-and-pour bases are glycerin-rich and hygroscopic, meaning they attract moisture from the air. Wrap finished bars individually in plastic wrap or shrink wrap once they have fully set and cooled.
- Store wrapped bars in a cool, dry place. Avoid the bathroom if possible before use, as humidity causes "sweating" (harmless glycerin droplets on the surface, but not attractive).
- Shelf life is typically 1 to 2 years for the base. Essential oil scent may fade over time, especially if bars are left unwrapped.
Variations and Substitutions
Oil Substitutions for Cold-Process
If palm oil is a concern for sustainability reasons, you can substitute with an equal weight of lard, beef tallow, or a combination of shea butter and additional coconut oil. Any substitution requires recalculating your lye amount with a soap calculator.
For a fully plant-based bar, replace palm with 50g shea butter and 50g cocoa butter. Expect a softer bar that may need a longer cure.
Lavender Blends
Lavender pairs beautifully with other essential oils in soap. Some combinations that work well at the fragrance stage:
- Lavender and cedarwood: Woody, grounding, and long-lasting in cold-process soap.
- Lavender and lemon: Bright and clean. Use steam-distilled lemon rather than cold-pressed in any leave-on context, as cold-pressed citrus oils can be photosensitizing.
- Lavender and peppermint: Cooling and refreshing, particularly nice in a foot soap bar.
When blending, keep total essential oil usage within the 2% guideline. Split the weight between your chosen oils rather than adding more on top of the lavender amount.
Exfoliating Lavender Soap
Add 1 to 2 tablespoons of finely ground oatmeal or poppy seeds to either recipe for a gentle exfoliating texture. Stir in at the end, just before pouring. In melt-and-pour, let the base cool a bit more so botanicals do not sink.
Lavender Honey Soap (Melt-and-Pour)
Stir in 1 teaspoon of raw honey to your melted melt-and-pour base along with the lavender oil. Honey can cause the base to set faster, so work quickly. It adds a warm, slightly golden tint and a subtle sweetness to the scent.
Troubleshooting Common Problems
| Problem | Likely Cause | What to Do |
|---|---|---|
| White powdery layer on cold-process soap | Soda ash (harmless) | Plane it off or steam the bars briefly |
| Melt-and-pour soap sweating | Humidity or unwrapped storage | Wrap bars tightly in plastic wrap |
| Scent faded quickly in cold-process | High temperatures during saponification | Use a higher percentage of essential oil (up to 3%), or add a small amount of cedarwood as a fixative |
| Soap seized (thickened too fast) | High-fragrance acceleration or too-hot temperatures | Work at cooler temperatures; check if your lavender oil is adulterated with compounds that accelerate trace |
| Bubbles on melt-and-pour surface | Pouring too fast or skipping alcohol spritz | Spritz immediately after pouring |
Taking Your Lavender DIY Further
Once you have made your first batch of DIY lavender soap, the natural next step is exploring other ways to use true Lavandula angustifolia oil at home. Lavender pairs surprisingly well in household applications too. Our guide to lavender oil in natural cleaning sprays, scrubs, and floor care shows how the same bottle of oil you use in your soap can do double duty around the house.
If you are drawn to seasonal projects, take a look at our round-up of summer lavender ideas for picnics, car fresheners, and sachets. And if you have ever thought about growing your own lavender for soap making and crafting, our guide to growing lavender at home walks you through everything from choosing varieties to harvesting and drying your own buds.
Making your own lavender soap recipe puts you in control of what goes on your skin. With genuine Lavandula angustifolia essential oil and a little patience, each bar becomes something worth looking forward to.